(If not using assembled chassis, skip these steps)
Take worm gear and worm gear housing off. Pull out trucks. (Remember! There is a front and rear truck!) Remove motor.
Pull off Athearn sideframes carefully. Grind off the center "Airbag" and glue in a surplus "spring" from a scrap sideframe. Install shock absorbers and brake cylinders on 2 sideframes. Press them onto the "front" truck. As the diagram shows, the front left sideframe should have it's brake cylinder removed, and the front right should have the shock absorber ommited so the truck can clear the side steps. Put them on the remaining (rear) truck.
Now, remove the red areas on the chassis as shown in the first diagram.
Here is the tricky part. The original "Front" (the side with most space from the gas tank to the truck) is now the back, and now the old "Back" is now "Front." Install the new trucks now.
Install A-Line's #12405 motor mount cradle with black silicoln. Add Detail Associates's Fuel Tank Fittings to the "New front" of the gas tank. Refer to prototype photos for location and since the model is a bit shorter then the prototype, double check that you can fit the body over the chassis without hitting the filler pipe.
Paint the chassis flat black and the sideframes flat black too.
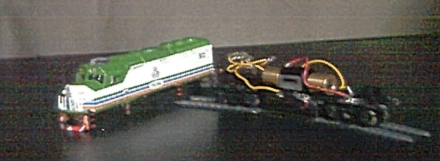
I am installing A-Line's #90321 short wheel base motor. Solder the wires to the motor. Attach it with black silicoln. Install the worm gears, then the universal joint couplings to the worm gears and the motor. Add the worm gear covers (Cut the end of the front cover so the cab interior can fit.) Paint the interior primer gray and the control stand flat black. Install it with super glue.
More to come! |